PROCESS
To design each piece of porcelain tableware I begin with a drawing. While the natural world provides perennial inspiration for my ceramic forms, the consideration of utility is omnipresent in the design of each piece of tableware.
Each new piece is carefully considered in relation to the existing shapes in my tableware range. The process of crafting a piece involves untold hours in the mould making stage followed by the disciplined steps of slip casting, kiln firings and glazing.
When all the elements of the many ceramic processes work together to enable a pot to emerge from the glaze firing as beautiful as the stone or shell which inspired it's form, the hard labour is all forgotten. Instead, all the hours of messy work are transformed into sheer joy.
Click on the sections below for details of the making process or scroll down to watch a video showing the tableware in use and hear me talk about designing and making the pieces.
+ Porcelain
Vitrified porcelain has great strength and enables durability and longevity for tableware. The vessels can be cast to be thin while remaining strong. It can be a source of delight to lift a cup or a jug and experience with surprise the lightness of the vessel.
Initially, it was my interest in making asymmetrical forms by cutting and joining thrown sections that led me to working with porcelain. In stoneware clay the joins between the sections were always visible. The smoothness of porcelain enabled me to conceal the joins, but the clay has a memory and the seams would become visible again after the glaze firing. The need to prevent this from happening demanded that I make a mould so that the pots could be produced with a continuous surface.
+ Mould Making
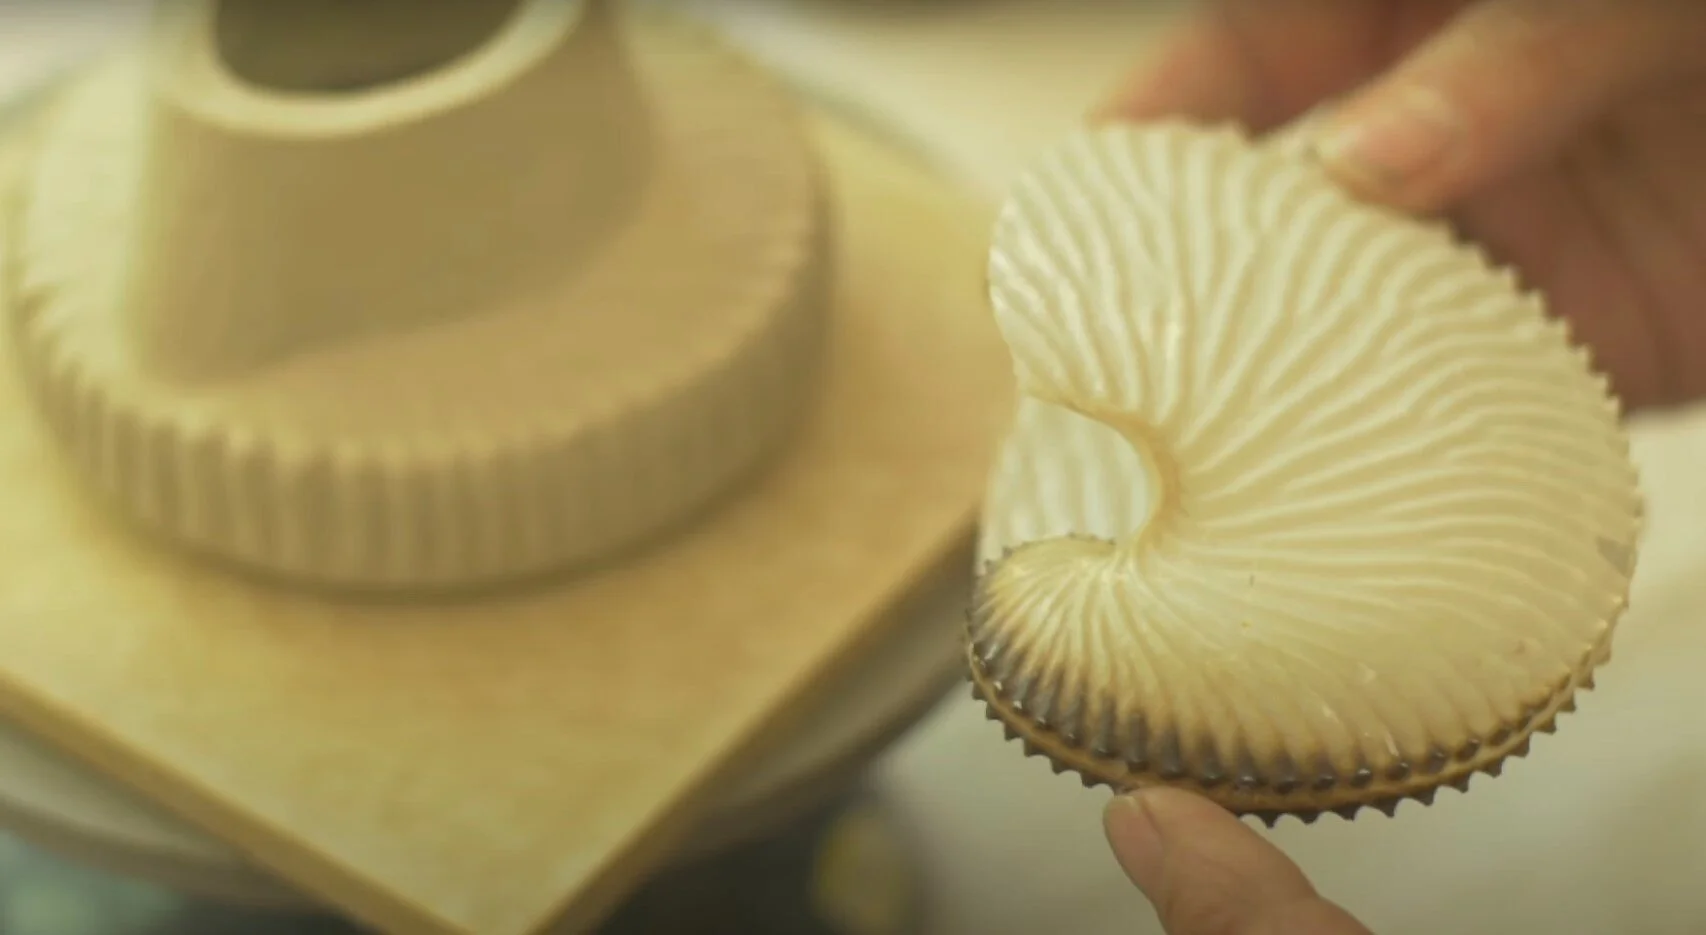
Once a new design has been refined on paper I make a clay model on the potters wheel. For more complex or asymmetrical forms a series of pots are carefully thrown to provide segments of the final shape. These segments are then cut and joined to form the final model.
A plaster mould is created around the model. Some moulds are simple one-piece moulds while more complex shapes require multi piece moulds. A teapot is cast with a separate handle mould so that the handle can be hollow and light. The body of the teapot is best as a four-piece mould with separate infuser and lid moulds. This can mean painstakingly making up to nine perfectly fitted mould pieces. I have spent countless hours making and remaking moulds until all of the visual and functional elements of each design work together.
+ Slipcasting
I cast into the mould using porcelain slip. The amount of time that the liquid slip remains in the mould determines the thickness of the walls of the piece.
In the same way as I join forms to make models for moulds I sometimes cut and join my cast forms to produce one off forms. I see in this process a link with the way in which I work with fabric to make garments.
+ Glaze Development
My love of satin glazes stems from observation of the worn surfaces of rocks and shells. I had found a small smooth dark stone on a deserted beach in Tasmania - it was unlike any other stone on the beach that day. It sits in my glass cabinet alongside finished pots where I can always see it.
I spent several years testing glazes to arrive at the dark charcoal glaze that I call stone. Many glaze tests later, I removed from the kiln a small sample that had the same dark velvety surface as the stone. I made a large batch of glaze, but when I dipped a pot into it, the glaze dried and fell off. More testing, researching and many months later I was able to make the glaze stay on the pot. To this day it remains a difficult and temperamental glaze to use.
Satin glazes in general are difficult to use as any change in thickness causes a change in colour. I continually formulate and test glazes in an effort to develop surfaces and colours that enable my pots to softly emanate an intrinsic luminescence.